Chat
The chat is how you talk to the agent. Describe what you want, it builds it.Chat input
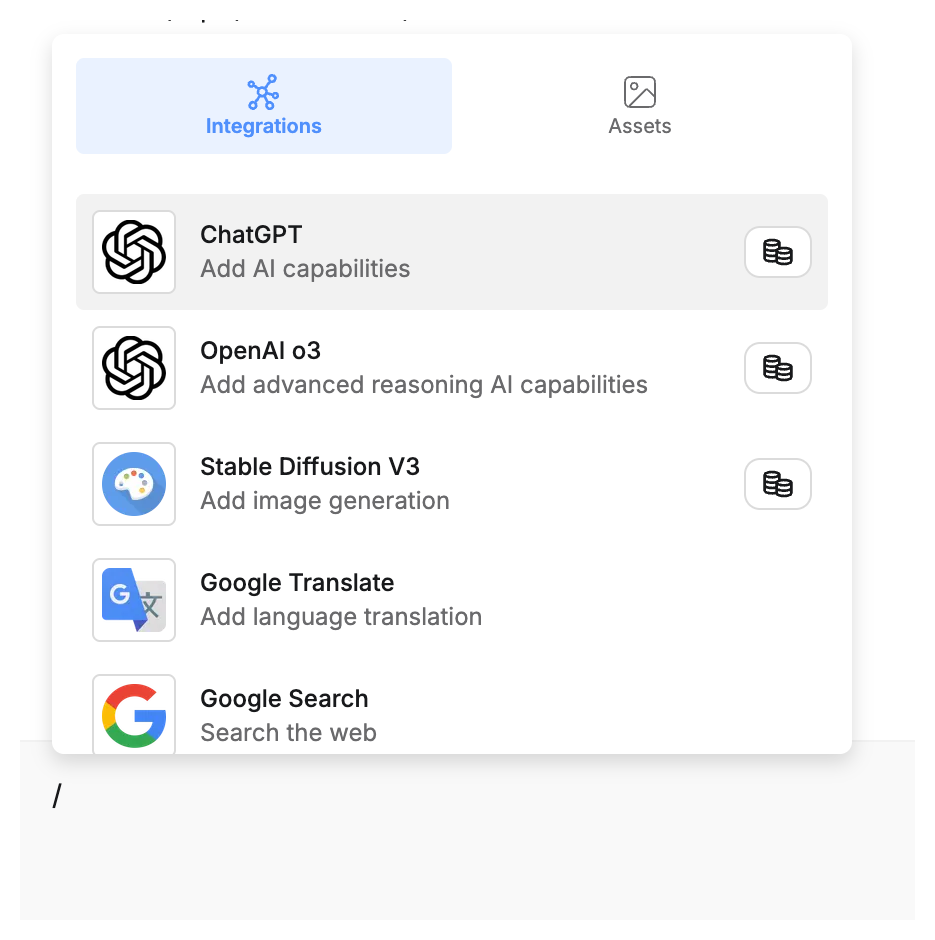
+or/: add integrations, reference assets, or create new elements- Image selector: paste or attach screenshots for visual reference. You can also drag and drop images from anywhere on the page.
- Mode selector: switch between Auto, Thinking, Discussion, Max, and Fast. See Agent modes.
- Model selector: override which AI model to use
- Press
cmd-enter(orctrl-enteron Windows) to send

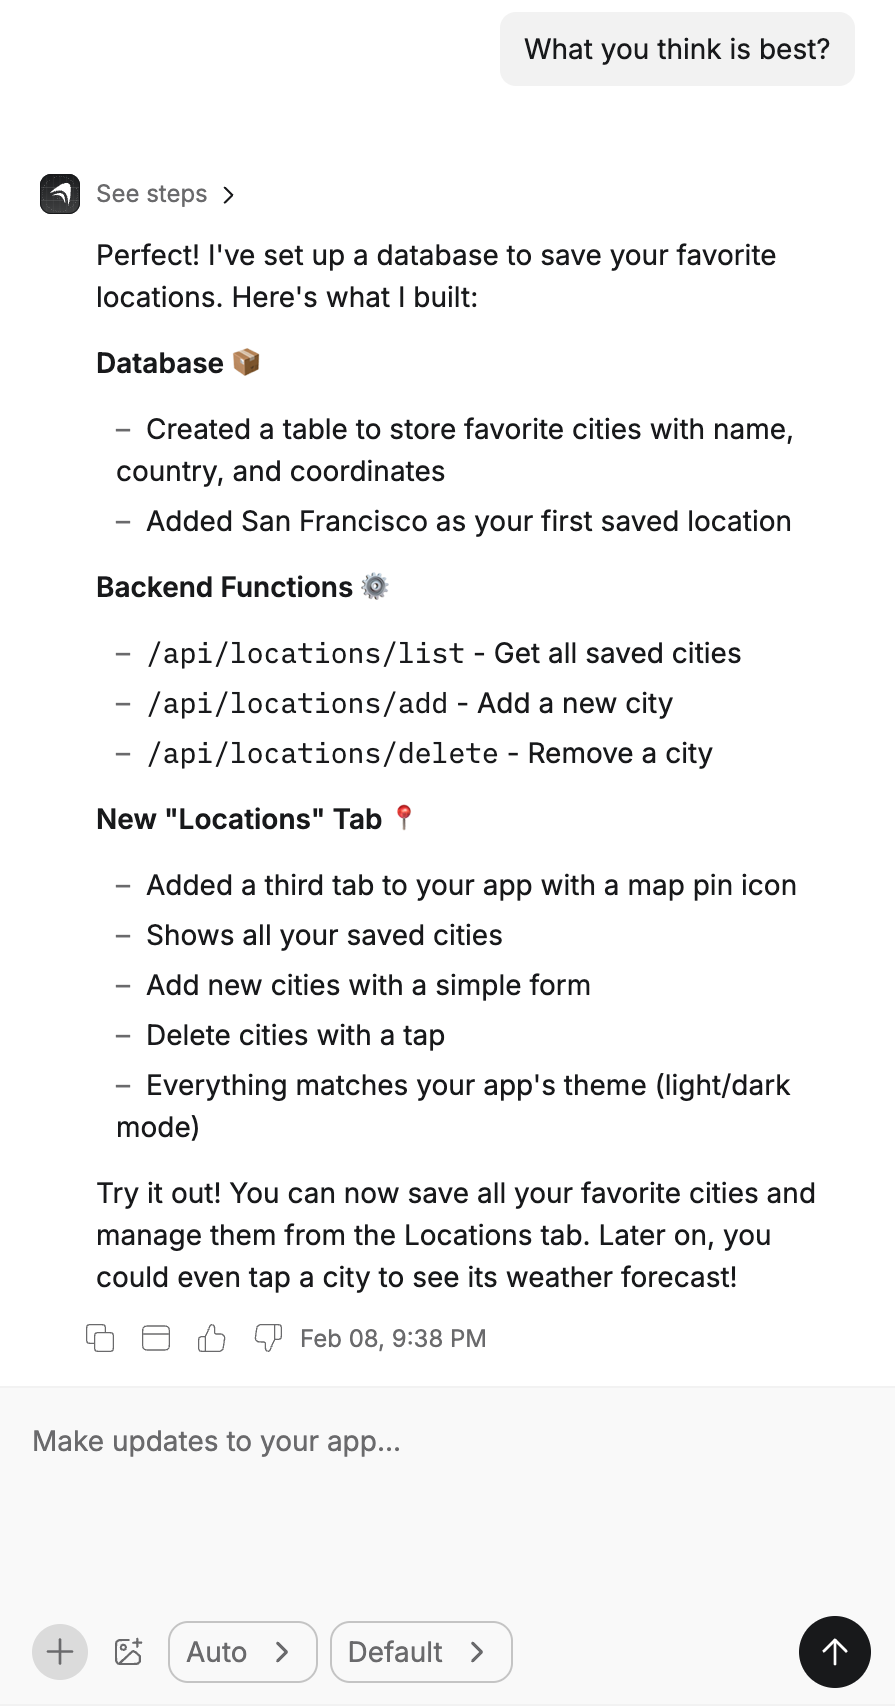
Chat view
- Scroll through your conversation with the agent
- Click any previous message to revert your app to that point
- Expand the agent’s thinking to see its reasoning step by step
See the Prompting Guide for tips on getting better results.
Left sidebar
Quick access to navigation and project-level controls.- Anything logo. Opens the sidebar with chat history and a link back to the dashboard.
- New chat. Start a new conversation thread.
- Version history. Browse and restore previous versions.
- Settings. Open project settings.
Top bar

- Preview / Code: toggle between your app and its code
- Responsive: switch between desktop and mobile layouts (web apps)
- Refresh: reload the app preview
- Element selector: switch which page, component, or database you’re viewing
- Rename: edit the name of the current element
- External preview: open your app in a new window without the builder
- Invite: add collaborators
- Publish: push your app live
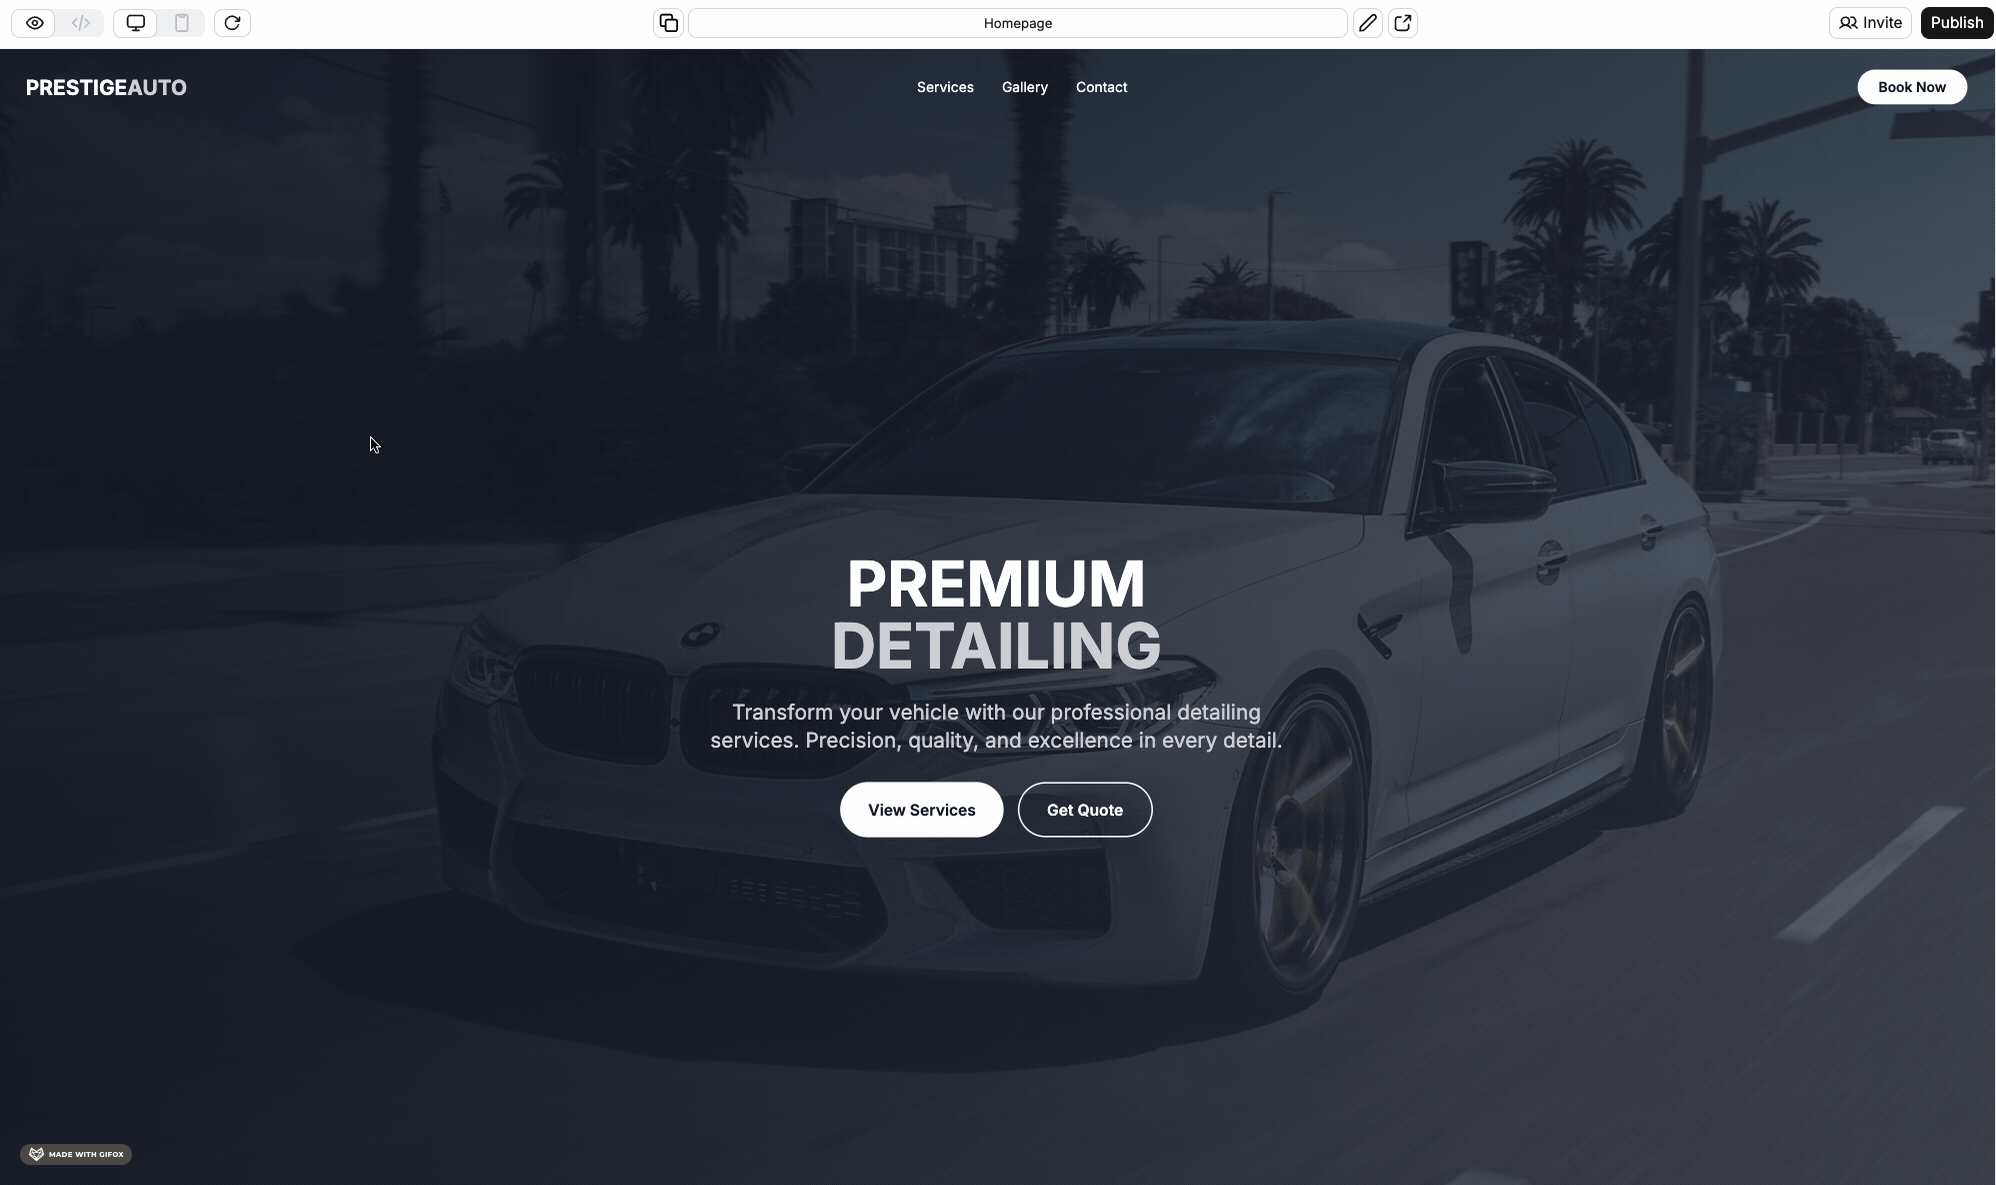
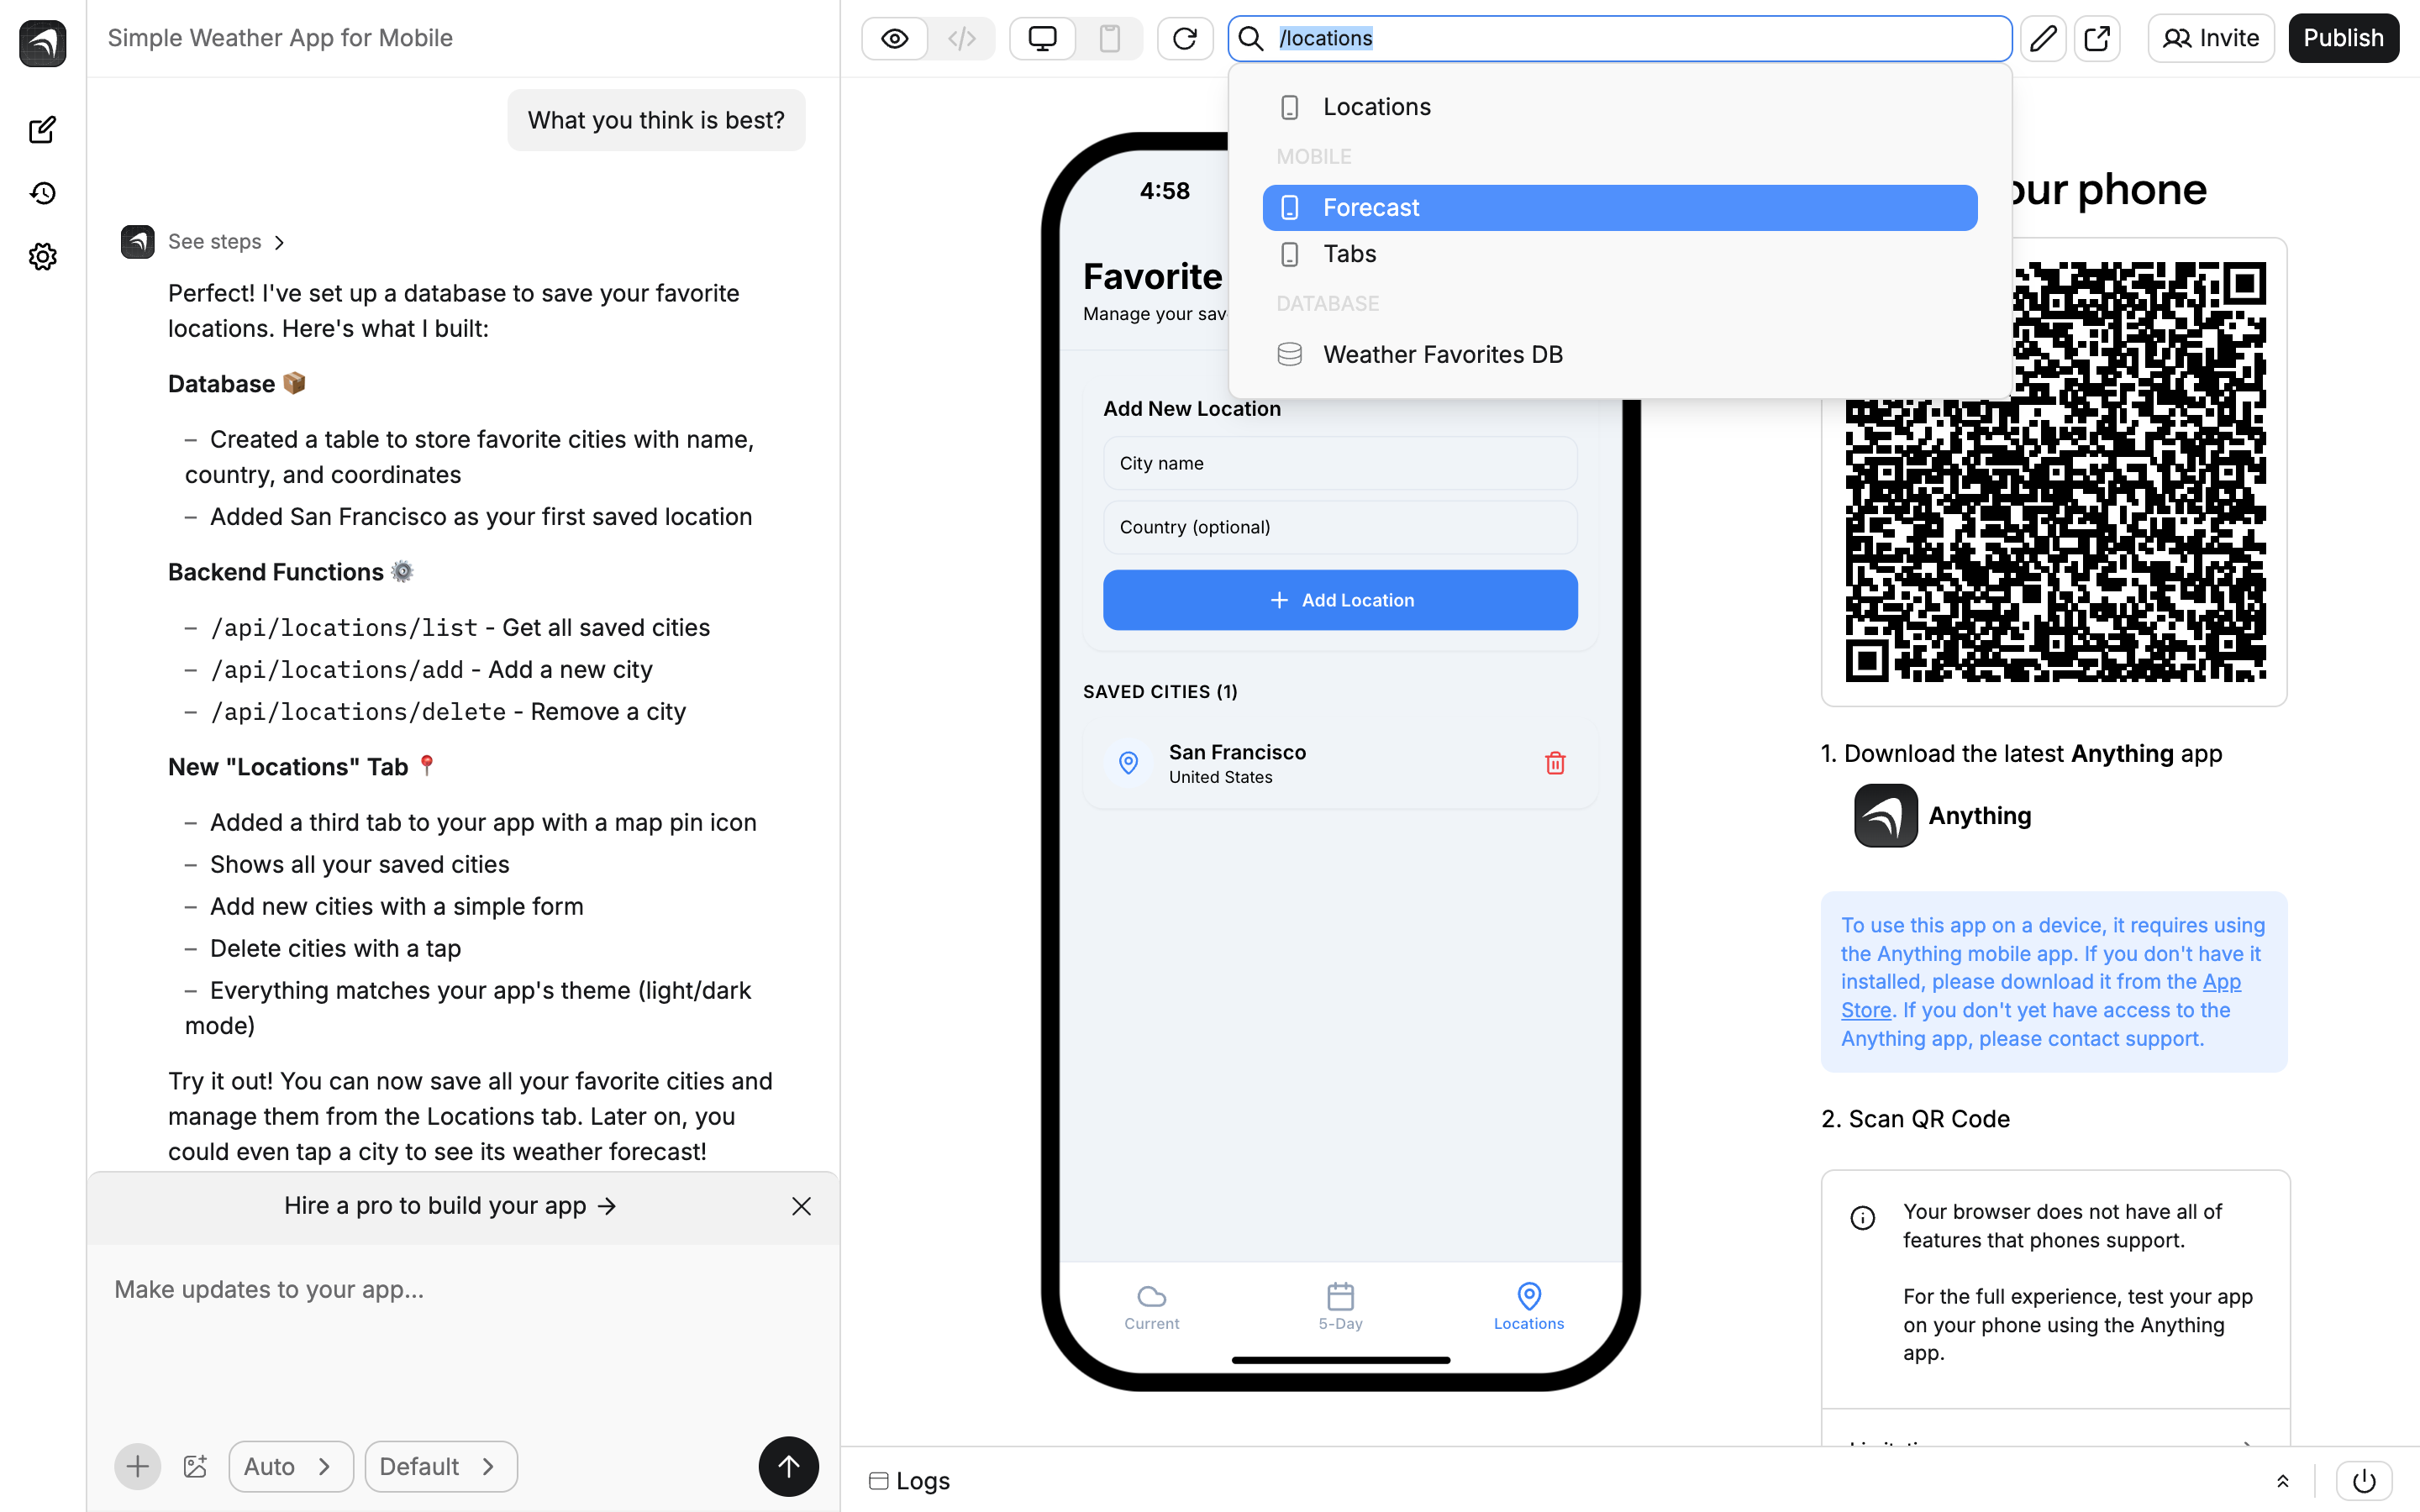
App preview
The center of the builder shows your app running in a cloud sandbox.- Web apps fill the full preview area
- Mobile apps show inside a device frame with a QR code to test on your phone
- Scan the QR code and open it in Expo Go to test on your actual phone
Bottom bar
- Logs. Output from your running preview app, including errors and warnings. Helpful for debugging.
- Restart sandbox. Reset the app’s cloud environment.
Version history
Every change is tracked. Go back to any previous version.- From chat click a previous message to preview that version, then Restore to bring it back
- From the sidebar tap the clock icon to browse all versions. Published versions are labeled.
Publish
How you publish depends on what you’re building:- Web apps: click Publish in the top right. See Publish.
- Mobile apps: click Publish, then go through the Submit to App Store flow. See Submit to App Store.
Project settings
Click the Settings icon (gear) in the left sidebar.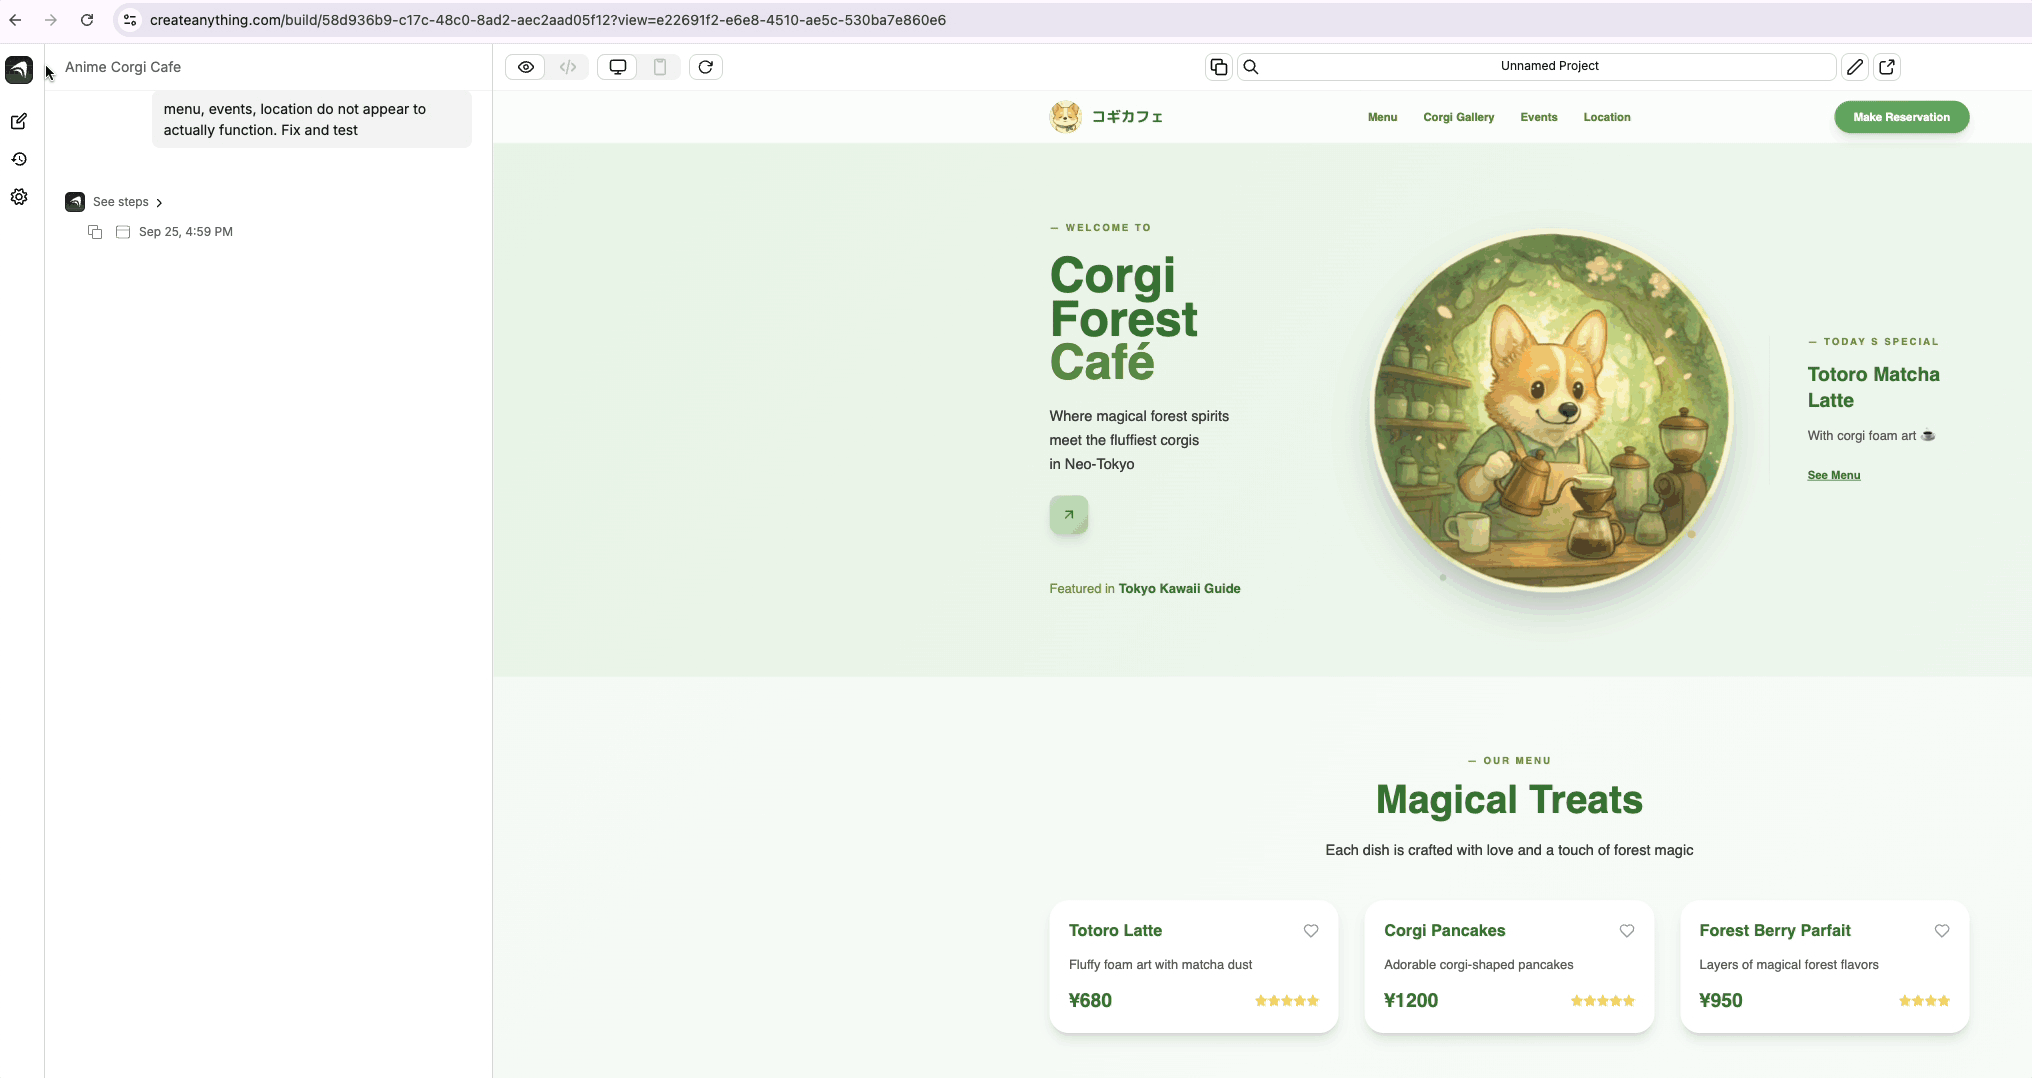
- Custom Instructions. Shape how the agent builds. See community examples here.
- Assets. Upload files and media for your app.
- Secrets. Store API keys and tokens securely.
- Auth Providers. Configure login (Google, Apple, email). See Auth.
- Branding & Icons. App icons and branding for mobile builds.
- In App Purchases. Configure RevenueCat for mobile payments.
- Social Share. Preview images and metadata for shared links.
Dashboard
Your home base. Access it from the logo menu in any project.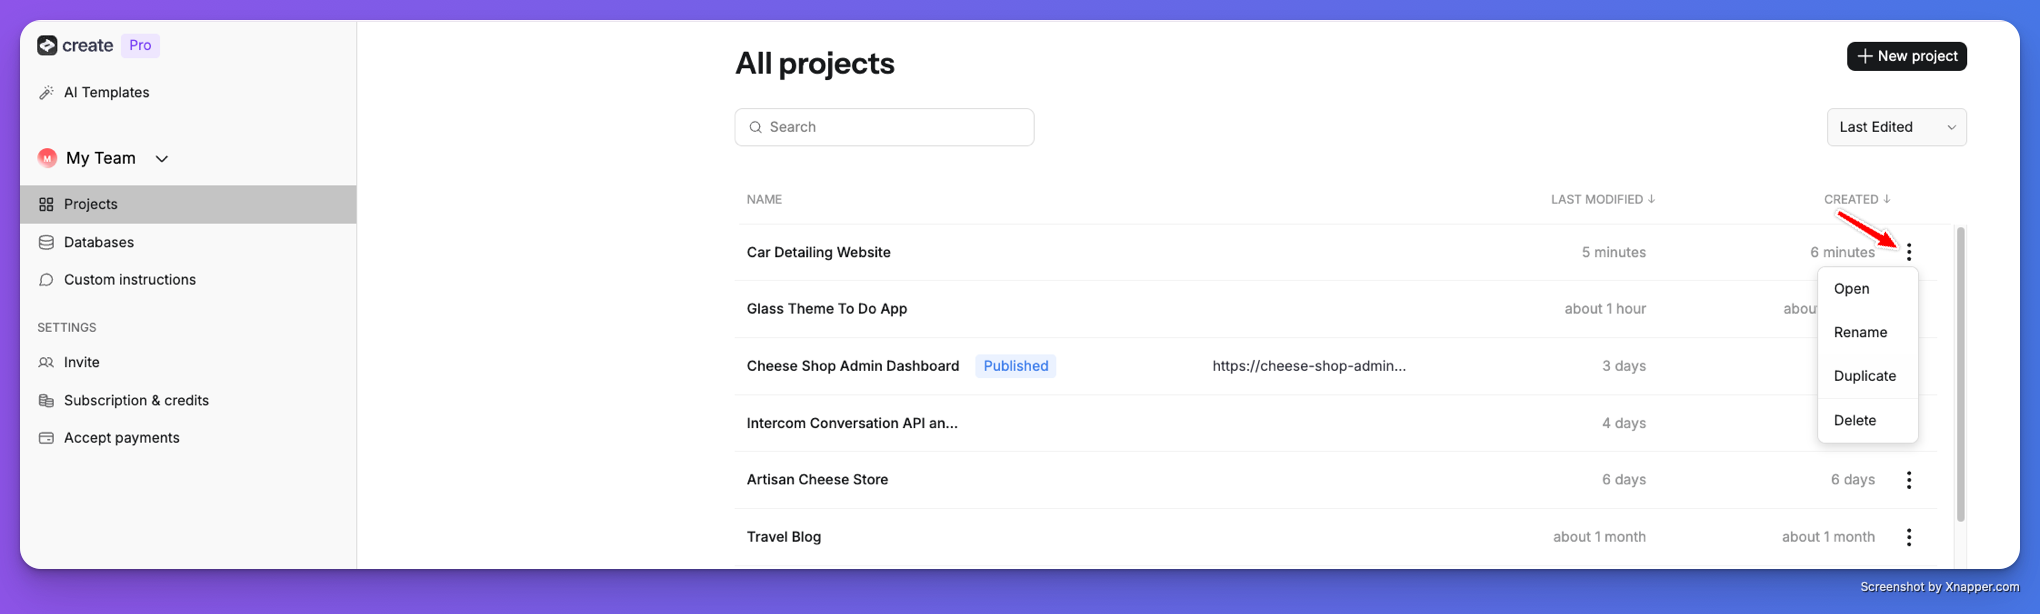
- Projects: view, copy, delete your projects
- Databases: view databases across projects
- Subscription & Credits: monitor Credits and manage your plan
- Accept Payments: connect Stripe or RevenueCat accounts